Monday, August 6, 2012

Zest Kitchen Tour!

I would like to introduce everyone to the Zest Chocolat Kitchen! It has taken us a few months to get this kitchen together and then inspected, but it is finally done! This is where all the chocolate magic happens!


Below are just some of the many ingredients that are used. Among them are cinnamon, cayenne pepper, vinegar, chocolate sprinkles, chai mix, coconut...etc.


Below are a variety of moulds that are used for the chocolate ganache before they are dipped in chocolate.


This is my beloved 3-bay sink that I spent waay too much time searching for. It is probably the heaviest thing in the chocolate kitchen.


The Zest Chocolat banner hangs on one of the kitchen walls. This was created for a wedding event, but now resides in the kitchen until it has other places to be.


Scales, enough said....


Just a fun picture of the clean floor and one of our rolling stainless steel counters. So handy!


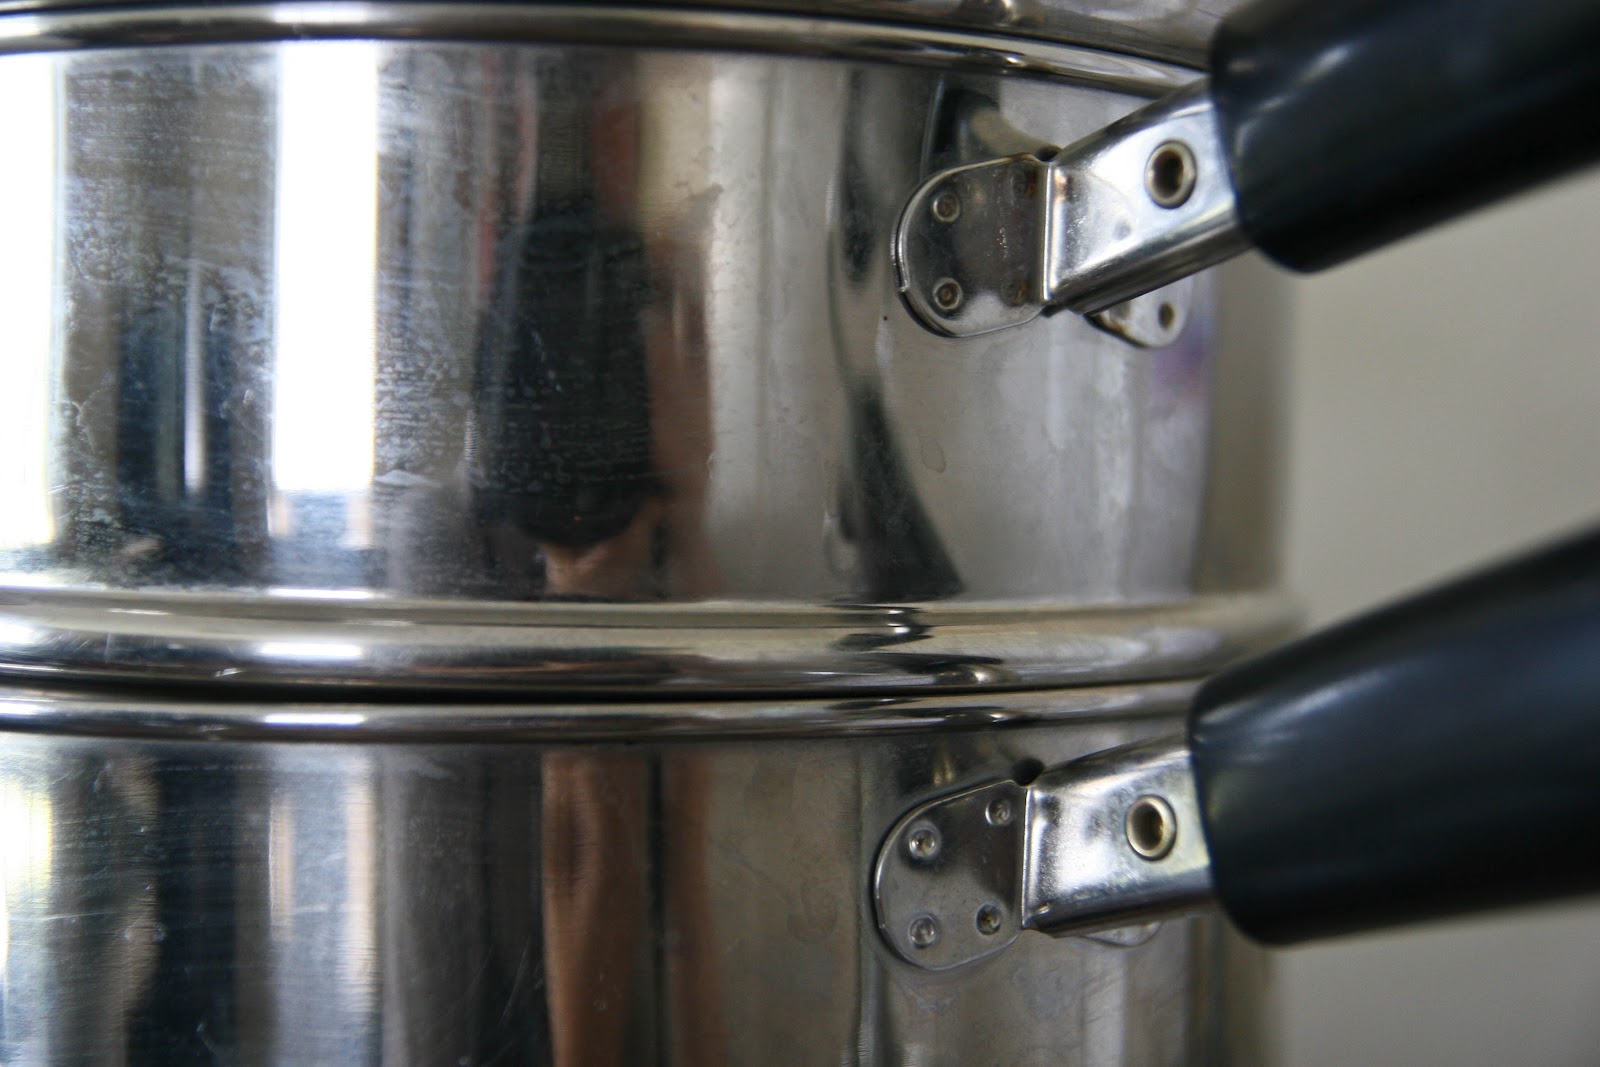
The beloved double boilers. This is really where all the chocolate magic happens. We don't have fancy equipment to melt and temper our chocolate, so it all happens by hand on this double boiler.


And this concludes the tour of our simple, yet very loved chocolate kitchen. We are so happy to finally have it inspected so that we can start selling wholesale. Look for us coming to downtown locations like The Artful Dodger and Court Square Coffee.

Friday, July 6, 2012

Hemp Jalapeño Brownies

Hemp Jalapeño Brownies seem to be a big curiosity for people. They were originally my Dad's idea, so I have to give him the credit. The recipe though, has been completely created by me. I have had a few trials and errors with my recipe, but I think I've found a winner!


"So what's up with the hemp?" People ask me.
Well, where do I even start? Hemp is awesome! I had no idea how awesome it was until I started researching it. After my dad suggested this flavor I had the same question, why hemp? Well you see, hemp seems to be somewhat of a superfood.


Hemp comes from the Cannabis Sativa L plant. Yes, we all know that cannabis is also where marijuana comes from, but this is the seed (size of a sesame seed). It does not have THC in it, which is the active component in marijuana. Therefore we can eat it all day long and it is completely legal!


"Why is it so good for you?" The wonderful thing about hemp seeds (also called hemp nuts) is that they are full of protein. Hemp seeds are considered a full protein which means they contain ALL of the 10 amino acids. It's a vegetarians dream for protein!


Hemp seeds also contain omega 3 and 6 fatty acids. These help to support the brain and immune system. They help in lowering your cholesterol too. Hemp is also high in vitamin E and magnesium. Wow!!

All of these reasons and more are why I am so excited to be using hemp flour, which is just ground up hemp seeds, in this brownie. The brownies also contain almond butter and agave nectar. They are gluten free and actually quite healthy for you.
Hemp Jalapeño brownies have a nutty taste and texture due to the hemp flour. They also have a spicy bite to them from the jalapeño. To top off the nutty hemp flour and spicy jalapeño bite, I have added chocolate chunks for even more texture and chocolatey taste!


Monday, June 25, 2012

Homemade Jam

Growing up, my mom made freezer-jam a few times. I don't remember making any other kind, therefore the whole canning thing is new to me. A lot of my friend's families canned and I saw all their supplies, but I've never done it myself or had my own supplies.


This year I set out to can my own strawberry jam so that I could use it in truffles. (Truffle secret: jams work better than purees.) I currently use a homemade jam that I pick up at the Farmers Market, but using homemade jam by me just seems more neat! I like to know where all of my ingredients come from, that is the #1 important thing for Zest as a business and me as the owner. So knowing that I picked the strawberries and I made the jam myself, just satisfies me to the core. As business grows I won't always be able to do that, but for now I plan on it. (Speaking of jams...it's blueberry season!!)


I discovered this great place that not only sells all the supplies needed for canning, but they are also friendly and give out great advice too. It is the Rockingham Co-op. I love it, it is my new favorite store! When Andy and I plant a garden next spring, we will probably spend all of our time there.


When canning my strawberry jam, I opted not to use pectin. I know that pectin is not bad, but it is a substance that I don't know much about, therefore I don't need it in my food or chocolate. I found a great non-pectin recipe, so that's what I used. (I doubled the recipe.)
  • 2 pounds fresh strawberries, hulled
  • 3 cups white sugar
  • 1/4 cup lemon juice

For the most part, the recipe worked. Unfortunately the jam didn't set up the way it would have if pectin were used. Next time I think I may just try the pectin...after I research it more of course. Luckily for me though, I don't need a solid jam to use in my truffles. The jam gets melted down anyway, so a more liquid jam will work just fine.

My first canning pot! I am so proud of this piece!
I am very excited about the strawberry jam that I made! Now I can use it throughout the seasons and always know where it came from. Next time I think I'll experiment with more flavors and pectin!


What jams do you make? Any great recipes that I should try, or tips I can use?

Tuesday, June 19, 2012

Ganache Icings

As a chocolatier who's main product is truffles, I use a lot of ganache. I mean a lot! Ganache is wonderful, I love it. It can do and be a variety of things AND it tastes delicious. What is not to love?!


Lately I've been playing around with whipped ganache. I have always been afraid to whip my ganache because of how it might set up. Even though ganache is wonderful and can be used for a variety of things, it is also finicky and moody. I have had enough problems with it in the past, that I have decided not to chance going the whipped route. That is, until I became super curious. So one fine day I took my ganache and gave it a good whip! What do you know, it actually worked, nothing funky happened to it. So now I am a believer in a good whipped ganache icing.


When making a cake/cupcakes, regular icing is always a tasty and safe route to go, but why not try using ganache next time? It is a rich chocolatey alternative to a sugary icing. You can easily make one ganache and have two different icing types. There is the glaze type, and the whipped type. Both are very easy.


When making a ganache icing, there is usually a 1:1 ratio of chocolate to cream. This makes it nice and pliable for pouring onto cakes, or whipping into a texture that can be piped onto cakes. Below is a good recipe for ganache icing:

Ganache Icing:
(makes about 4 cups)
-2 cups bittersweet chocolate (chopped finely)
-2 cups heavy whipping cream

Place the finely chopped chocolate into a bowl. Bring the cream to a boil and take it off the heat. Pour the hot cream over the chocolate and let it sit without stirring for a few minutes. Then, stir with a whisk until smooth. (Be careful not to stir too much or too fast.)


At this point you have a glaze ganache. You can either pour it over your cake/cupcakes, or you can go the whipped route instead. For a whipped ganache, you will need to put the completed ganache into the refrigerator until it has cooled, but not solidified. (about 45 minutes) When the ganache is cool, whip it with a mixer until soft peaks form. Now it is ready to be piped onto your cake/cupcake, or you can use a knife or spatula to wipe it on for a different look.


And there you go, two different ganache icings from just one recipe!

Tuesday, June 12, 2012

Strawberry Picking

I look forward to strawberry season all year. Who doesn't? So this spring I counted down the days until the local strawberry farms opened. When they finally did open I found myself too busy to go. Week one of May went by and I was too bogged down with chocolate orders to make it strawberry picking. Week two went by and the days that I was free it rained and rained. Week three went by and the day that I could go picking was picked out by the time I called. I was beginning to fret that I wouldn't be picking strawberries this year. Finally the last week of May I made it!


It was a beautiful day at Middle River Farms when I arrived at 8am. They said to come early, since they are normally picked out by noon. (Good to know for next year.) I boarded the tractor ride with my two pails to fill and we headed out to where the berries where. When we got there it was row after row of gorgeous green strawberry bushes. I started slow mainly because I was sure that if I picked too quickly I would be finished before I was ready. I wanted to thoroughly enjoy my experience. After the first pail though, it became hot and sunny and my legs were aching from squatting while picking. All of a sudden I wanted to be done, but I still had another pail to go! The last pail was picked with less diligence, but I still got a good bounty. My end of picking total was 20 pounds, cool!


One large plan I had for the strawberries was to make jam out of them to use for future truffles. It is very important to me that my ingredients are as fresh and local as possible. Strawberries may not be fresh in November, but they will be from a local farm and made into a jam by me that will then get used in the truffles. I am excited to be using my own homemade jam in upcoming truffle recipes! My thoughts for truffles are maybe a white chocolate with strawberry and lime, or maybe dark chocolate with strawberry and port...the options really go on.


Of course, a lot of strawberries were just dipped into chocolate and consumed right away. Only the best way to eat a fresh strawberry as a chocolate lover! Strawberry crisp was also made to be enjoyed with chocolate ice cream. There are also some frozen strawberries that will come out later in the summer. Oh how I love strawberry season!


Monday, June 4, 2012

Make your own flavor extracts!

Obviously I am a big fan of flavor. Chocolate on its own has a strong flavor, so adding flavors to it can sometimes be a challenge. This challenge causes me to be on the forever lookout for new and natural flavor enhancers. Which is why I have just discovered how to make my own extracts!


You wouldn't believe how simple it is. Sometimes I pay up to $7.00 for a natural extract, but after discovering how to make my own I will NEVER pay that again. ...and I hope you don't either.

What you'll need:
-mason jars
-plastic wrap
-vodka, any kind will do
-fruit or herb that you want to extract the flavor from
-cheese cloth
-(optional) amber glass bottles


So here's how it is done. First you pick the flavor that you want to make into an extract. I chose a few flavors that I regularly use such as blueberry, raspberry, rosemary, cilantro, and bacon. Yes, bacon! For the fruits and the herbs it is quite simple. You take your flavor, raspberries for example (about 2 cups), and mash them up really good, into a pulp. I used mason jars, but you can use whatever jar you want. Fill the jar about half way with your mashed fruit or herb. Then fill the rest of the way with vodka. Put the lid on the jar and shake it well to get everything mixed together. Take the lid off and place a layer of plastic wrap over the top of the jar and put the lid back on. This prevents the lid from rusting. Let this mixture sit in a dark place for about 3-4 weeks. (If you can remember to shake it every few days, that helps too.) With herbs you may have to fill the jar with more vodka over time as the herbs will absorb the liquid. After 3-4 weeks use a cheese cloth to strain out the fruit or herb and you'll have your extract! The optional amber glass bottles help to keep the extract for longer, but that step can be left out as long as you keep your extract in a cool dark place.


For BACON! extract you do something slightly different. Cook some bacon and keep the bacon grease. Pour about a half cup of bacon grease into a mason jar along with a few pieces of bacon. Top it off with vodka and shake it well. Leave the jar in a cool dark place for 1-4 days, then place it in the freezer for 1-2 weeks. When you take it out of the freezer the bacon grease will have solidified making it easier to separate it from the flavored vodka. When the vodka is separated from the bacon and frozen grease you'll have your extract. Store it in a cool dark place.


Monday, May 21, 2012

Chocolate Shop Review-French Broad Chocolate Lounge

Since I am in the business of creating and selling chocolate, I like to stay up to date with other chocolate businesses. Sometimes there are obvious trending things that I like to keep up with, sometimes I just like to taste someone else's chocolate and look inside their pretty shop.
This last week was slow for chocolate as I am still working on finishing my chocolate kitchen for inspection. So I took the week to travel with my mom to the small city of Asheville, North Carolina. The purpose of the trip was to pack up her house since it was being sold, but we also had some fun. The city of Asheville is a wonderful place that sits right in the beautiful North Carolina mountains. They have 2 chocolate shops downtown (that I know of) so the first one we went to was the French Broad Chocolate Lounge. The river that runs through Asheville is called the French Broad, thus the name of the chocolate place.
This place is newer, but has just as much of a reputation as the other chocolate shop. The inside is warm and friendly with plenty of places to sit- a whole second and third floor of seating too! The chairs are plush leather and the tables are intimate; a perfect place for a date.
Upon first approaching the counter, we were greeted by lovely light blue boxes filled with truffles. This is their display case for truffles they have on hand. All truffles were round, while the caramels were square. Their flavors ranged from single origin dark chocolates, to more exciting things like the Thai Truffle, which was my favorite. It is a dark chocolate with lemongrass, ginger, lime, and green chili. Such awesome flavors combined with chocolate!
The second case of goods that greeted us was filled with brownies and chocolate dipped cookies. I didn't sample any of these, but they were all beautiful and I'm sure they tasted heavenly. The last case held pots de creme, puddings, parfaits, and creme brule's that would be fixed upon ordering. They were all tempting, I'll have to go back and try more next time!
Overall, I was impressed with this chocolate shop. I enjoyed the fact that they had plenty of seating for people to order their dessert, a cup of coffee, and then hang out. I felt like I could go there for a variety of things, just to buy a box of chocolate, to enjoy chocolate while reading, or on a date with my mom or husband. I rate this chocolate shop a 9 out of 10.